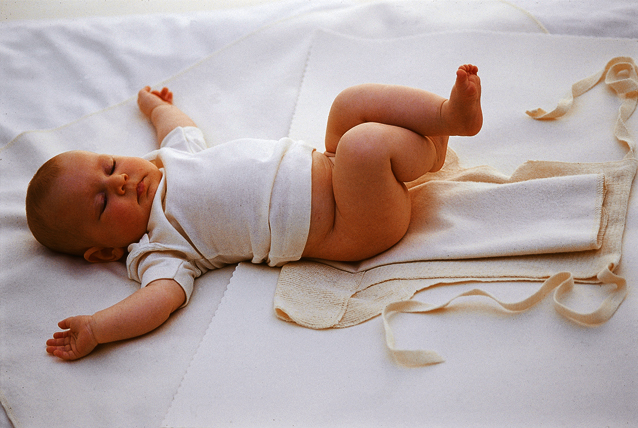
It's easy to use Disana cloth Nappies! This may look like a lot of steps, but we've broken it down to make it easy to follow. Once you have got the hang of it you'll be able to do it super-fast.
Step 1
To use the Disana nappy is very simple. Spread out the knitted nappy on the changing mat. Fold the narrow front part back to the ties. Now place the brushed cotton liner or silk liner on top of the nappy.
Step 2
If your baby is very small, you can adjust the length of the nappy by folding back the upper edge.
Step 3
Lay the baby on the nappy. First, pull up the liner between the legs, then fold the two upper side edges into the middle.
Step 4
Pull up the lower flap of the nappy between the legs and over the waist. Here too, by folding the flap, you can adjust the size of the nappy. Finally cross the ties of the knitted nappy across baby’s back, bring them round to the front an tie in a bow.
Step 5
The fine knitting gives the nappy a comfortable elasticity so that it fits snugly. The baby is not restricted, but wrapped gently with plenty of room to move.
Step 6
The Disana woollen outers are then pulled over the nappy. Though watertight, these allow the air to pass through. The soft ribbing around the waist and legs hold the pants firmly but gentle in place. Baby is kept warm without getting too hot, as Merino wool has the property to keep temperatures well balanced.
The beautiful bright colours and woolly texture mean that in summer these can be just be worn with a top, ie as wool shorties!
Tips
- For lots of tips and on how to lanolise/waterproof your nappy covers see https://www.cambridgebaby.co.uk/blog/?p=781
- The best clothing for cloth nappies is clothing that is naturally stretchy and flexible, that can flex and bend with your baby and over the nappy too. All knitted fabrics are better than woven fabrics in this regard, and all natural animal fibres are better than vegetable fibres as they have a lot more natural stretch. All wool, Merino wool, Alpaca, and wool/silk blends are brilliant.
~~~~~~~


